This C# tutorial will let you go through the steps of adding a Class Library , DLL to your own program or add it to the Global Assembly cache in Windows Assembly folder. DLL stands for Dynamic Link Library.
Adding A DLL in Project:
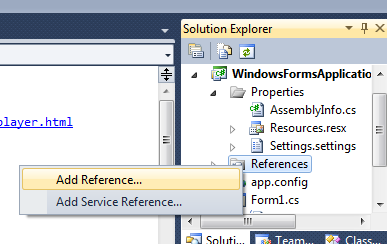
This is the first Type. If you are adding your own DLL to the project then first locate it & Memorize its location. You might also wanted to know how to create a Class library or DLL>>. Now you just Go to your project’s Solution Explorer, Right click on the Reference option in it & Click on Add reference.
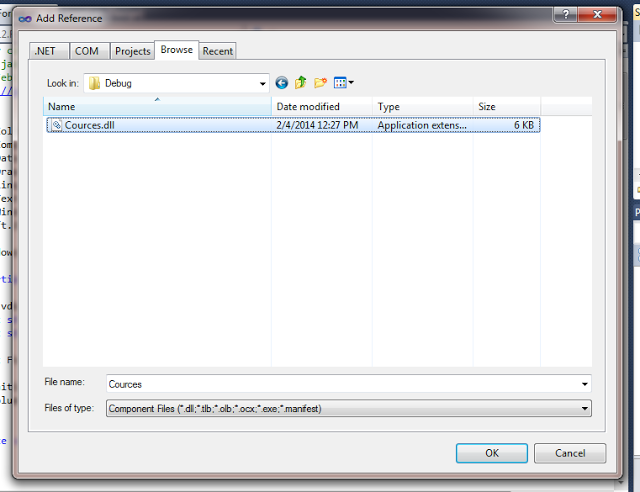
Click Ok. & You are done. The last step of this type of DLL is adding it in our Using statements as follows.
using NAME-OF-DLL-NAMESPACE-HERE;
 example : using Cources;
Note : This is the first type of dll adding in C# program. If you did this it will just copy your actual dll & add it its own debug folder. This will be a private DLL. If you changed your Dll it will not affect your project in which you added the dll.
Adding DLL to Global Assembly Cache:
This one is a little complicated & most of the time it is uses whenever we need. Here is how to do this. This type includes the following steps.
1- Create a Strong Name for your dll. Open your Visual Studio’s command prompt. Remember to open it as an Administrator otherwise it might not work. Next, write ” sn -k YOURNAMEHERE “. Replace YOURNAMEHERE with any word you want to create Strong Name with. For Example as follows:

You will see “Key pair written to YOURNAMEHERE” & If you goto folder -> C:Program Files(x86)Microsoft Visual Studio 10.0VC -< you will see a file with your YOURNAMEHERE.snk . So first step is complete here.
2- Next step is to add this Strong name to your C# Project. Right Click on properties option in your Solution Explorer window & click on Open. A window will appear like this.

In this window click on Signing*, then check on Sign the assembly. & Then click on the browse option. Locate your YOURNAMEHERE.snk file which you created in step 1 & add it here. After then Build your application. End of step 2.
3- Step is most important one & last step. After step 2 & building again your application, again open your Visual studio Command prompt & write the path of the folder where your application is present. For example in my scenario the file is available at location -> C:UsersGullDocumentsVisual Studio 2010ProjectsWindowsFormsApplication12WindowsFormsApplication12binDebug <- so here is what i write in command prompt.

Now you see my Command prompt is at the location where my project’s exe file is. Next write gacutil/i [dllname].dll & press enter.

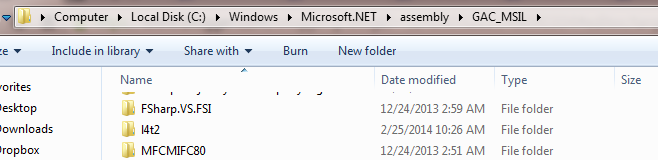
And Tadaaa.. You are done with your Adding DLL to GAC. ByTheWay gacutil means Global Assembly Cache Utility & /i means Install. Locate Your Assembly at -> C:WindowsMicrosoft.NETassemblyGAC_MSIL <-
I hope you find this Article helpful.