In this week I learned how to use dll files in any program. dll stands for Dynamic Link Library. The main use of the dll files is when we need some functions of other program into our project.
According to MSDN :
An assembly, or a dynamic linking library (DLL), is linked to your program at run time.
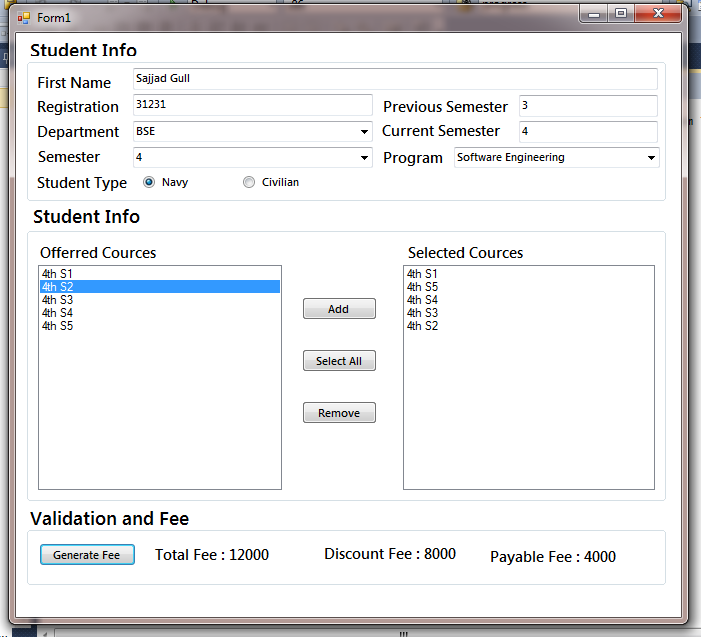
So here is a quick example that i did in our Visual Programming Lab. Our object was to create a program that register the semester courses but we have to import the offered courses from other Assembly (dll). First we have to create a dll, because in our case we didn’t have any file present before. Goto New Project, Select Class Library and press Ok.

A new Library Class will be open. This class will not have any Main function because it will be used as a Library file & will give functions to other programs. Now in my case i created two Classes, one for BBA depart & another for BSE depart. Both classes contains Methods for 8 Semesters & each one of them will return an Array of courses available for that particular semester. Here is its Code.
Code for dll File
When run this code , it will produce no Output. Build its solution & we are done with a dll file.
Using dll in Project :
Now time to use this dll in our C# program. First we have to add a Reference of this dll in our project. Goto your Project’s Solution Explorer & right click on Reference and select Add Reference.

Now a Window will be appear. Click on Browse Tab, then Locate your .dll file and click on add. Tadaaa !! we are almost done. Now add this Assemble in your project’s using Statements. e.g in my case, my dll file name is Cources. So i’ve added it as follows in the below code.
Code for Using dll in C#
Output of Program :